When it comes to keeping track of things like my goals, daily to do’s, chores and more, I’m an old fashioned girl at heart. I like to write things down. I’ve tried fancy apps and snazzy digital planners but it just doesn’t work for me. If I write it down, it’s in front of me and thats what keeps me on track.
The only downside to the old fashioned writing method is the sea of papers I end up being surrounded with. But that’s what folders are for, right? So rather than going out and buying them, I naturally decided to make my own DIY paper folders.
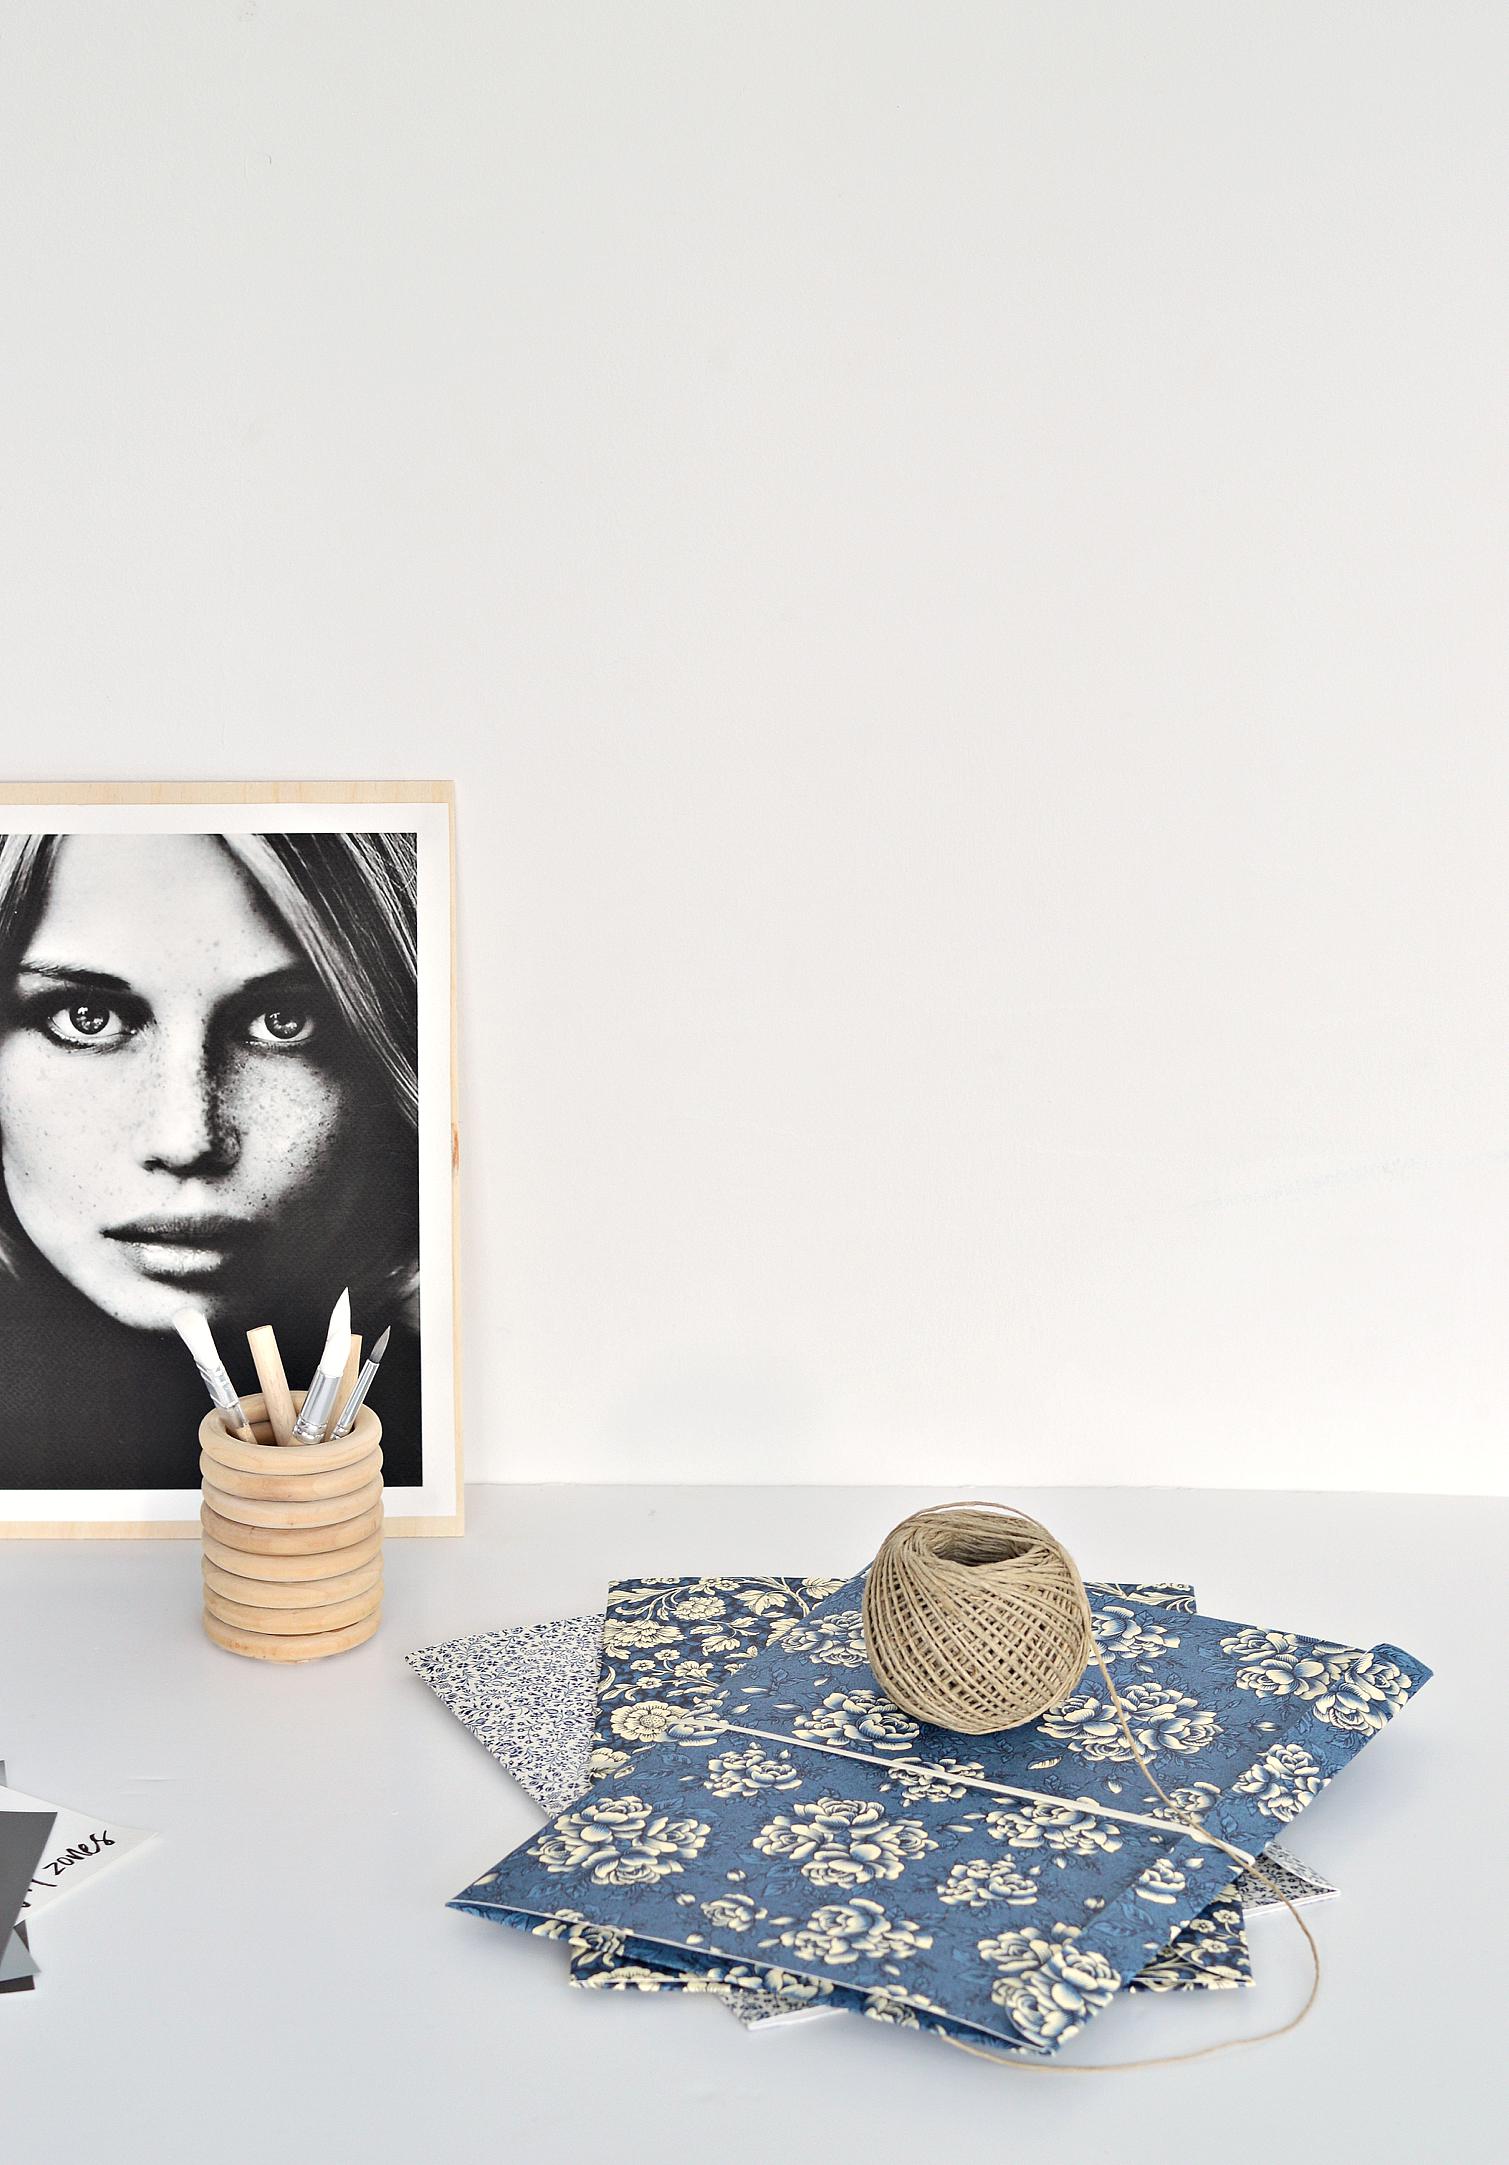
I discovered some beautiful wrapping paper recently which I couldn’t bear to part with, so I used this paper as my folder covers but you can use any good quality wrapping paper you like. These DIY paper folders have been so handy in making my desk look much tidier than usual. Also I’m not digging around looking for a particular piece of paper as they’re now all neatly filed in to my pretty folders.
DIY Paper Folders
Materials:
A1 card (150-180gsm)
scissors
craft knife
pencil and ruler
wrapping paper (of your choice)
glue (I used pritt stick)
white rubber bands or elastic
1. Each A1 card will make 2 folders so start by cutting the card in half with scissors.
2. Take one half and cut it down further so that it measures 50cms x 40cms.
3. Cut a pice of wrapping paper to the same size and glue it on to one side of the paper. You don’t need to be absolutely precise at the edges as we’ll be trimming down all the sides with a craft knife later. Leave to dry for a few minutes.
4. With a craft knife, trim off 1.5 cms from the top, bottom and both the sides. This will tidy up the edges.
5. Measure 22cms in from the left edge and fold along this line. You’ll end up with the right side being a bit bigger. Fold the excess on the right over to form a flap.
6. The front of the folder needs to be smaller as it won’t have any flaps. So with a craft knife, trim 3cms from the top and bottom of the front cover of the folder only.
7. Now fold in the excess on the top and bottom of the back cover of the folder. These will form flaps that will keep your papers in place.
7. Trim the corners along the fold lines and finally trim the flaps to give them all rounded edges.
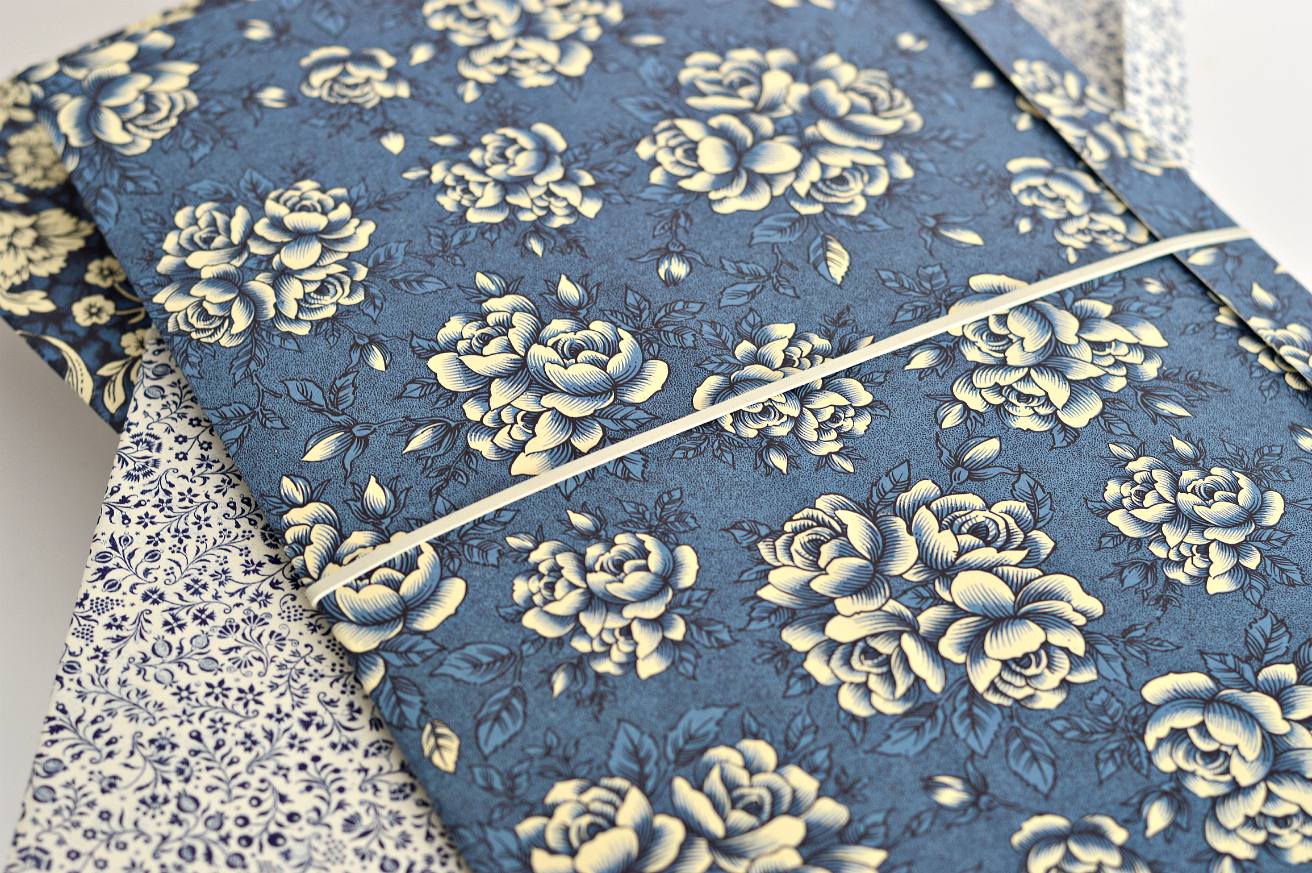
8. Fill with your papers and secure with a rubber band or elastic.
Note: If your folders aren’t quite flat, place them under some heavy books for a few hours.
Here’s a video where you can watch the tutorial:
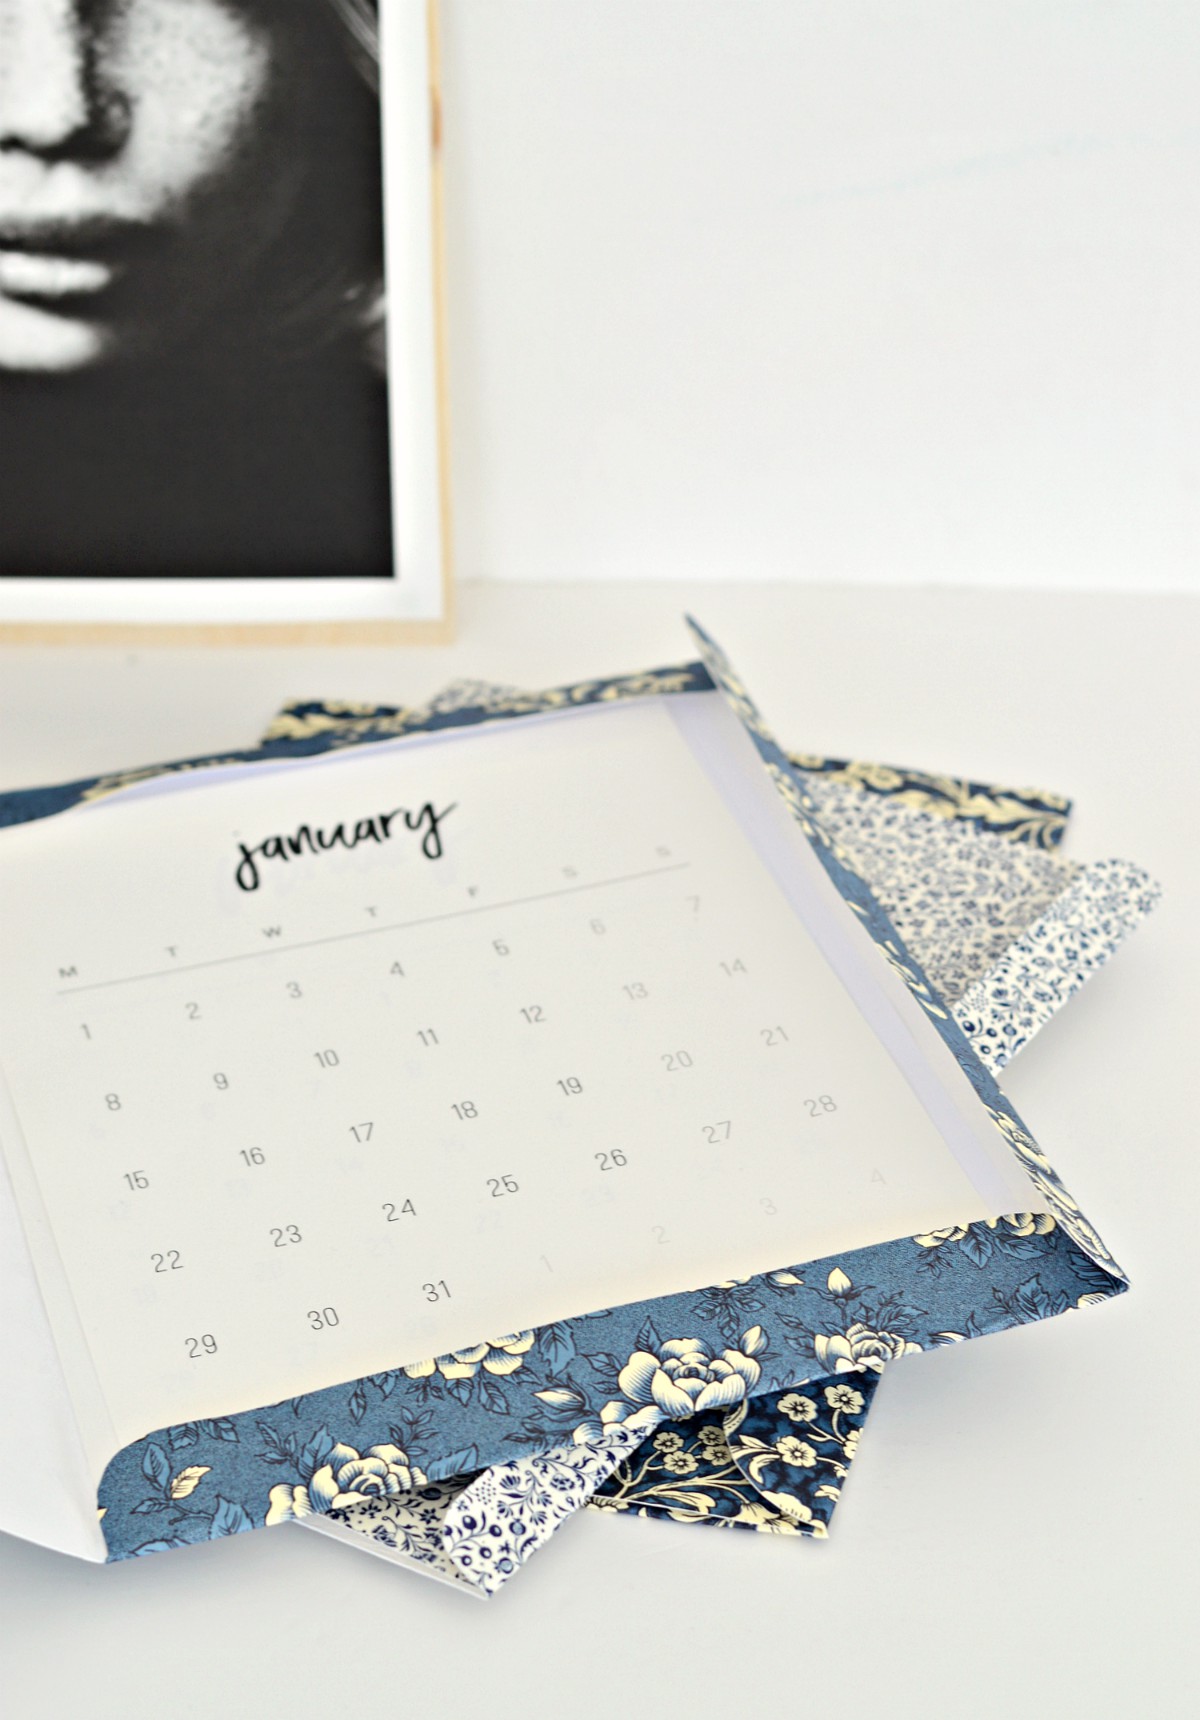
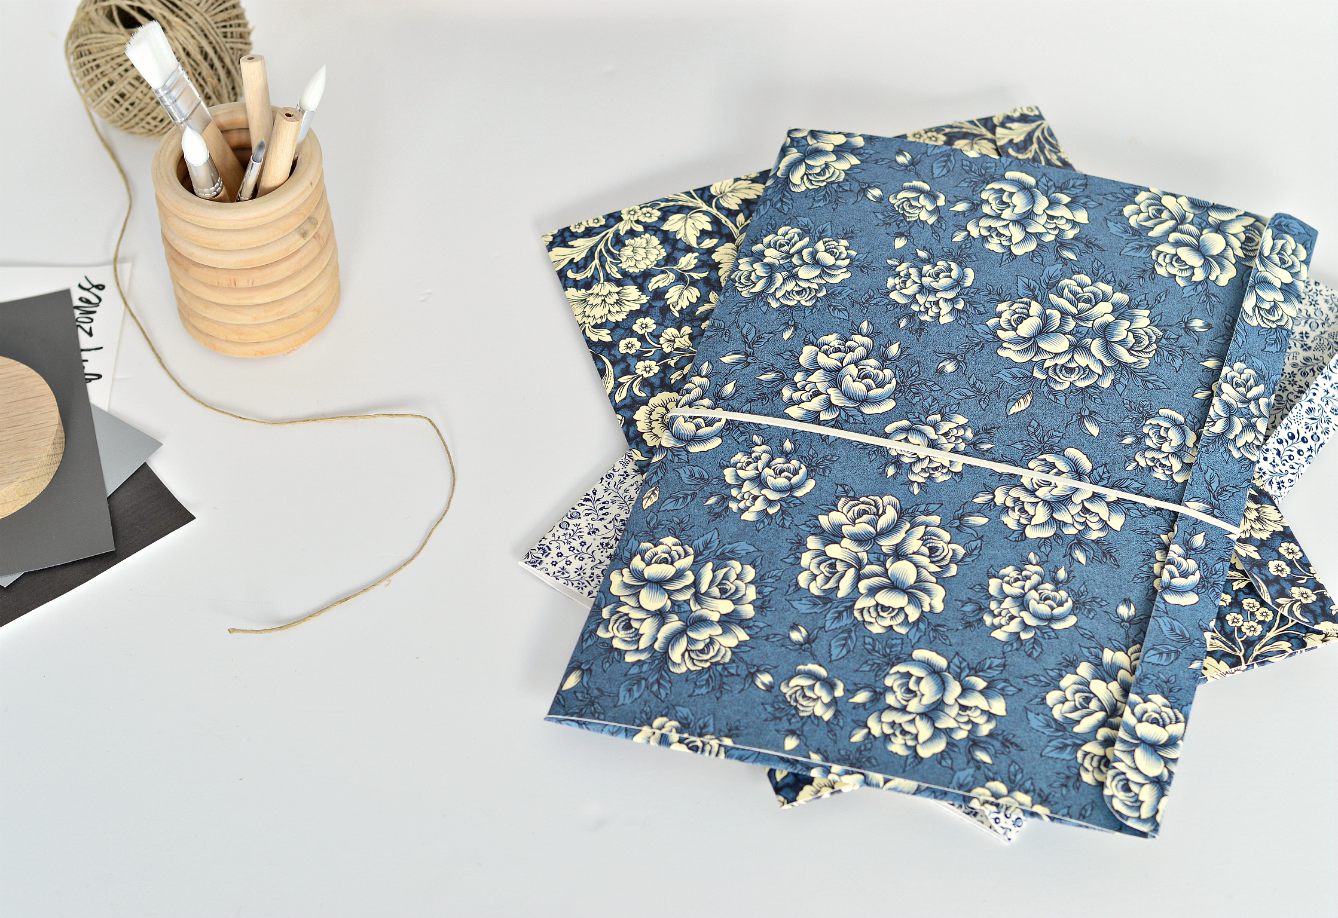
I ended up making three of these folders – one for my goals, one for my daily to do’s and one where I print and collect inspiring images that I later stick on my inspiration board.

Do you prefer good old fashioned pen and paper or are you more in to digital planning?

So fun – love the papers you chose.
Thanks. Yes these papers are very beautiful.