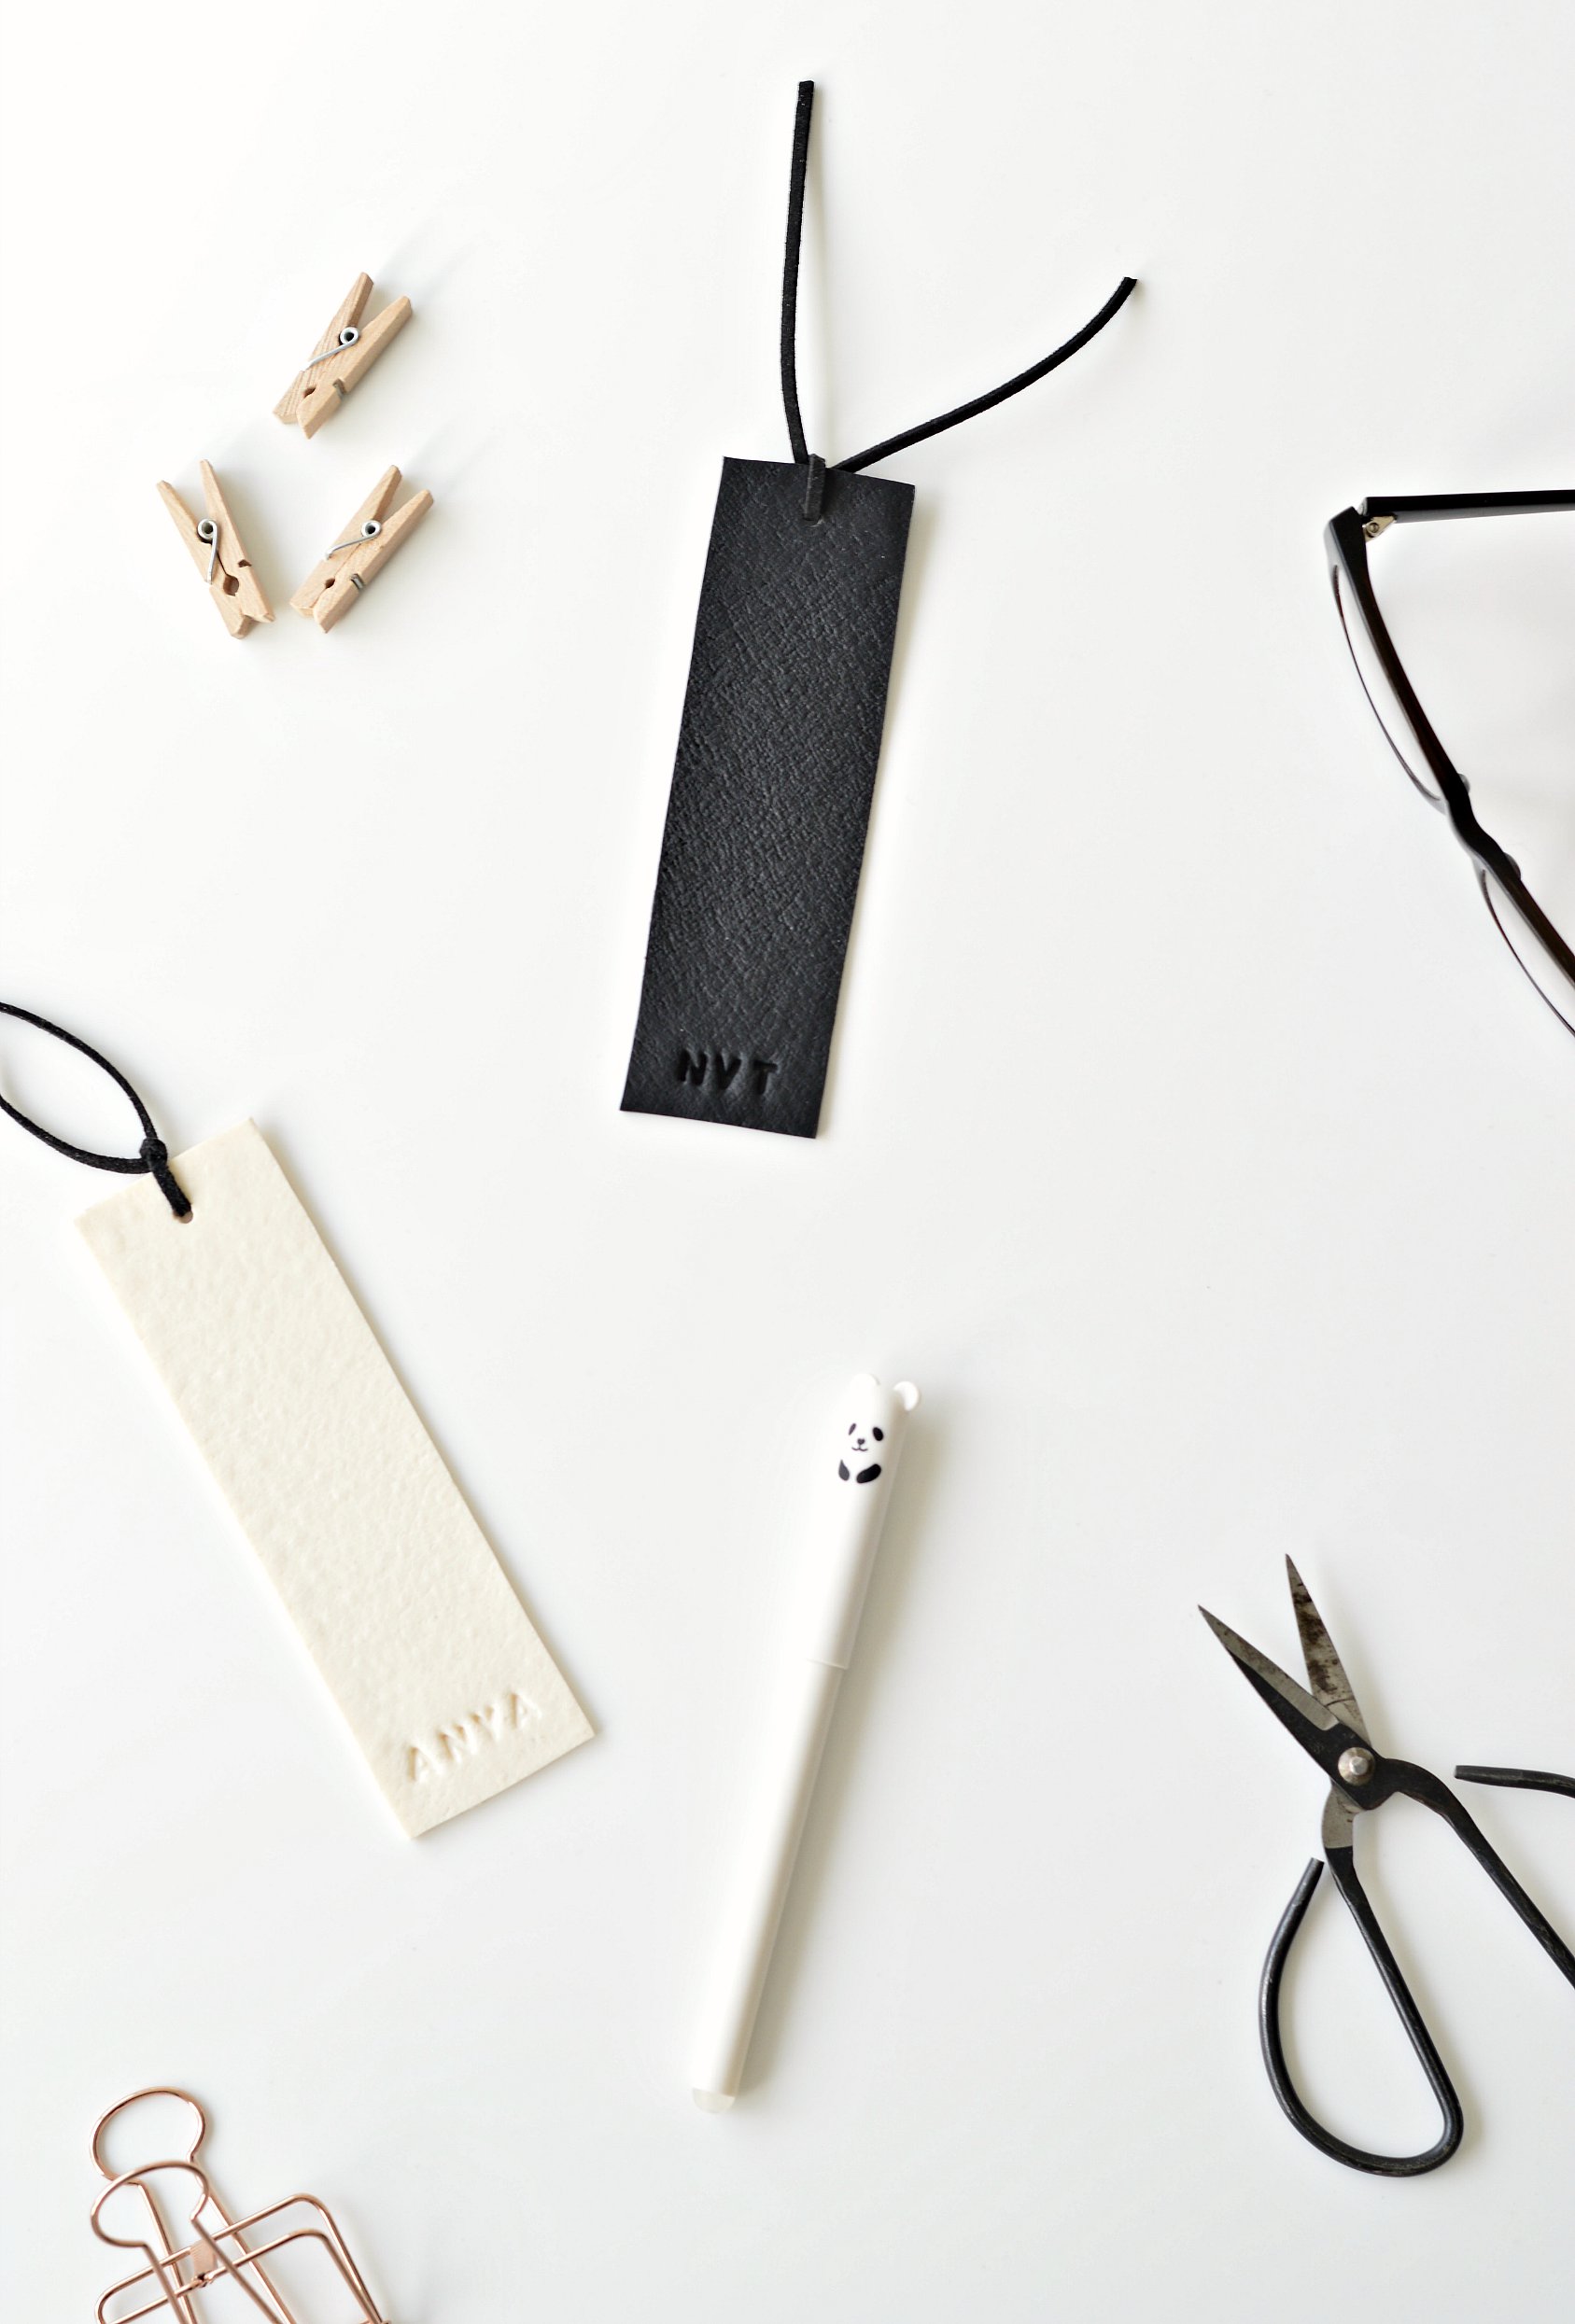
Have you tried leather effect clay? I bought some a while ago and I’ve finally got round to having a go by making these DIY personalised bookmarks.
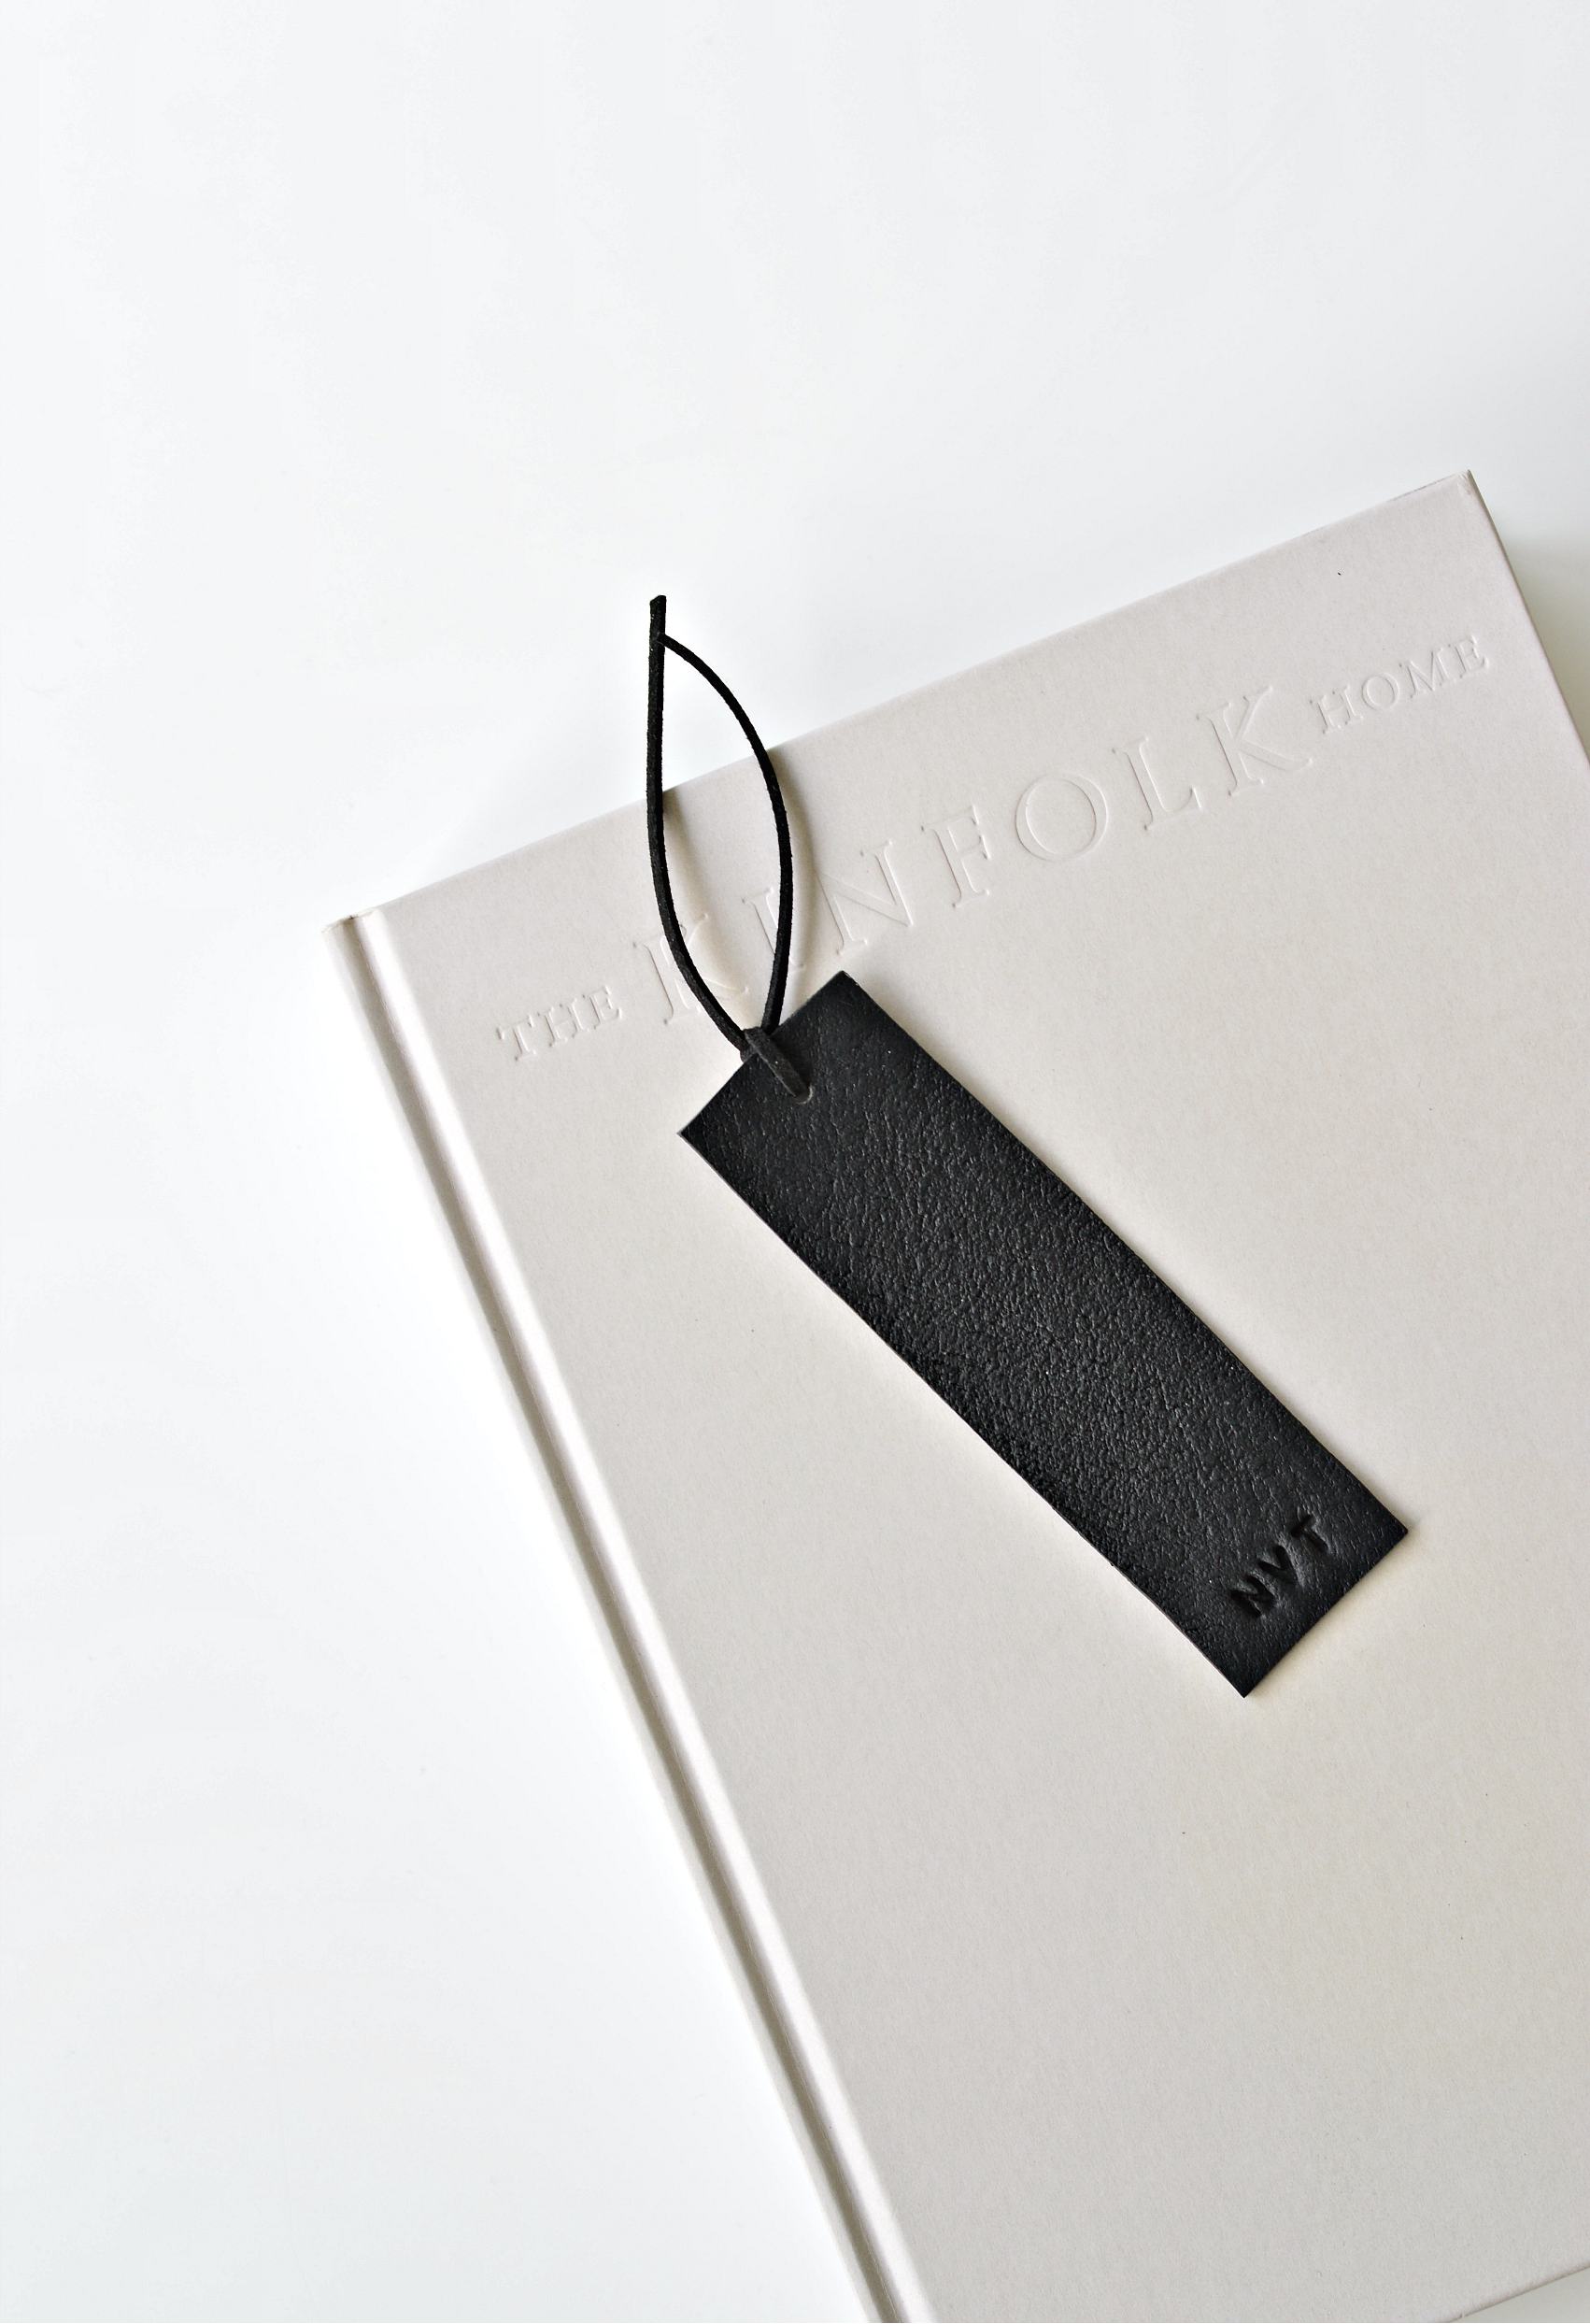
I was quite impressed with the leather effect clay as it does look like leather (especially if you hand stretch it – see tutorial below) and of course it comes at a fraction of the price of real leather. These DIY personalised bookmarks are ideal as a first leather clay project as they’re easy to make. And the finished product looks great either for yourself or as a handmade gift for anyone who loves reading.
I decided to personalise them as that’s always a nice touch. I made some with initials and some with first names. You could also add short messages which would be quite fun especially for a birthday or Valentines handmade gift.
DIY personalised bookmarks
*contains affiliate links
Materials:
leather effect clay (US readers find it here)
rolling pin or clay machine
sharp craft knife and ruler
message maker (US readers find similar here)
leather hole punch
suede cord/string
1. Break off a piece of your clay and roll it around in your hands to soften.
2. Using your rolling pin or clay machine, roll it out to about 4-5mm thickness. It should be at least 7-8cms (3 inches) wide and 17-18 cms (7-8 inches) long. The edges of your clay will be very uneven so you need your rolled out piece to be bigger than your bookmark size.
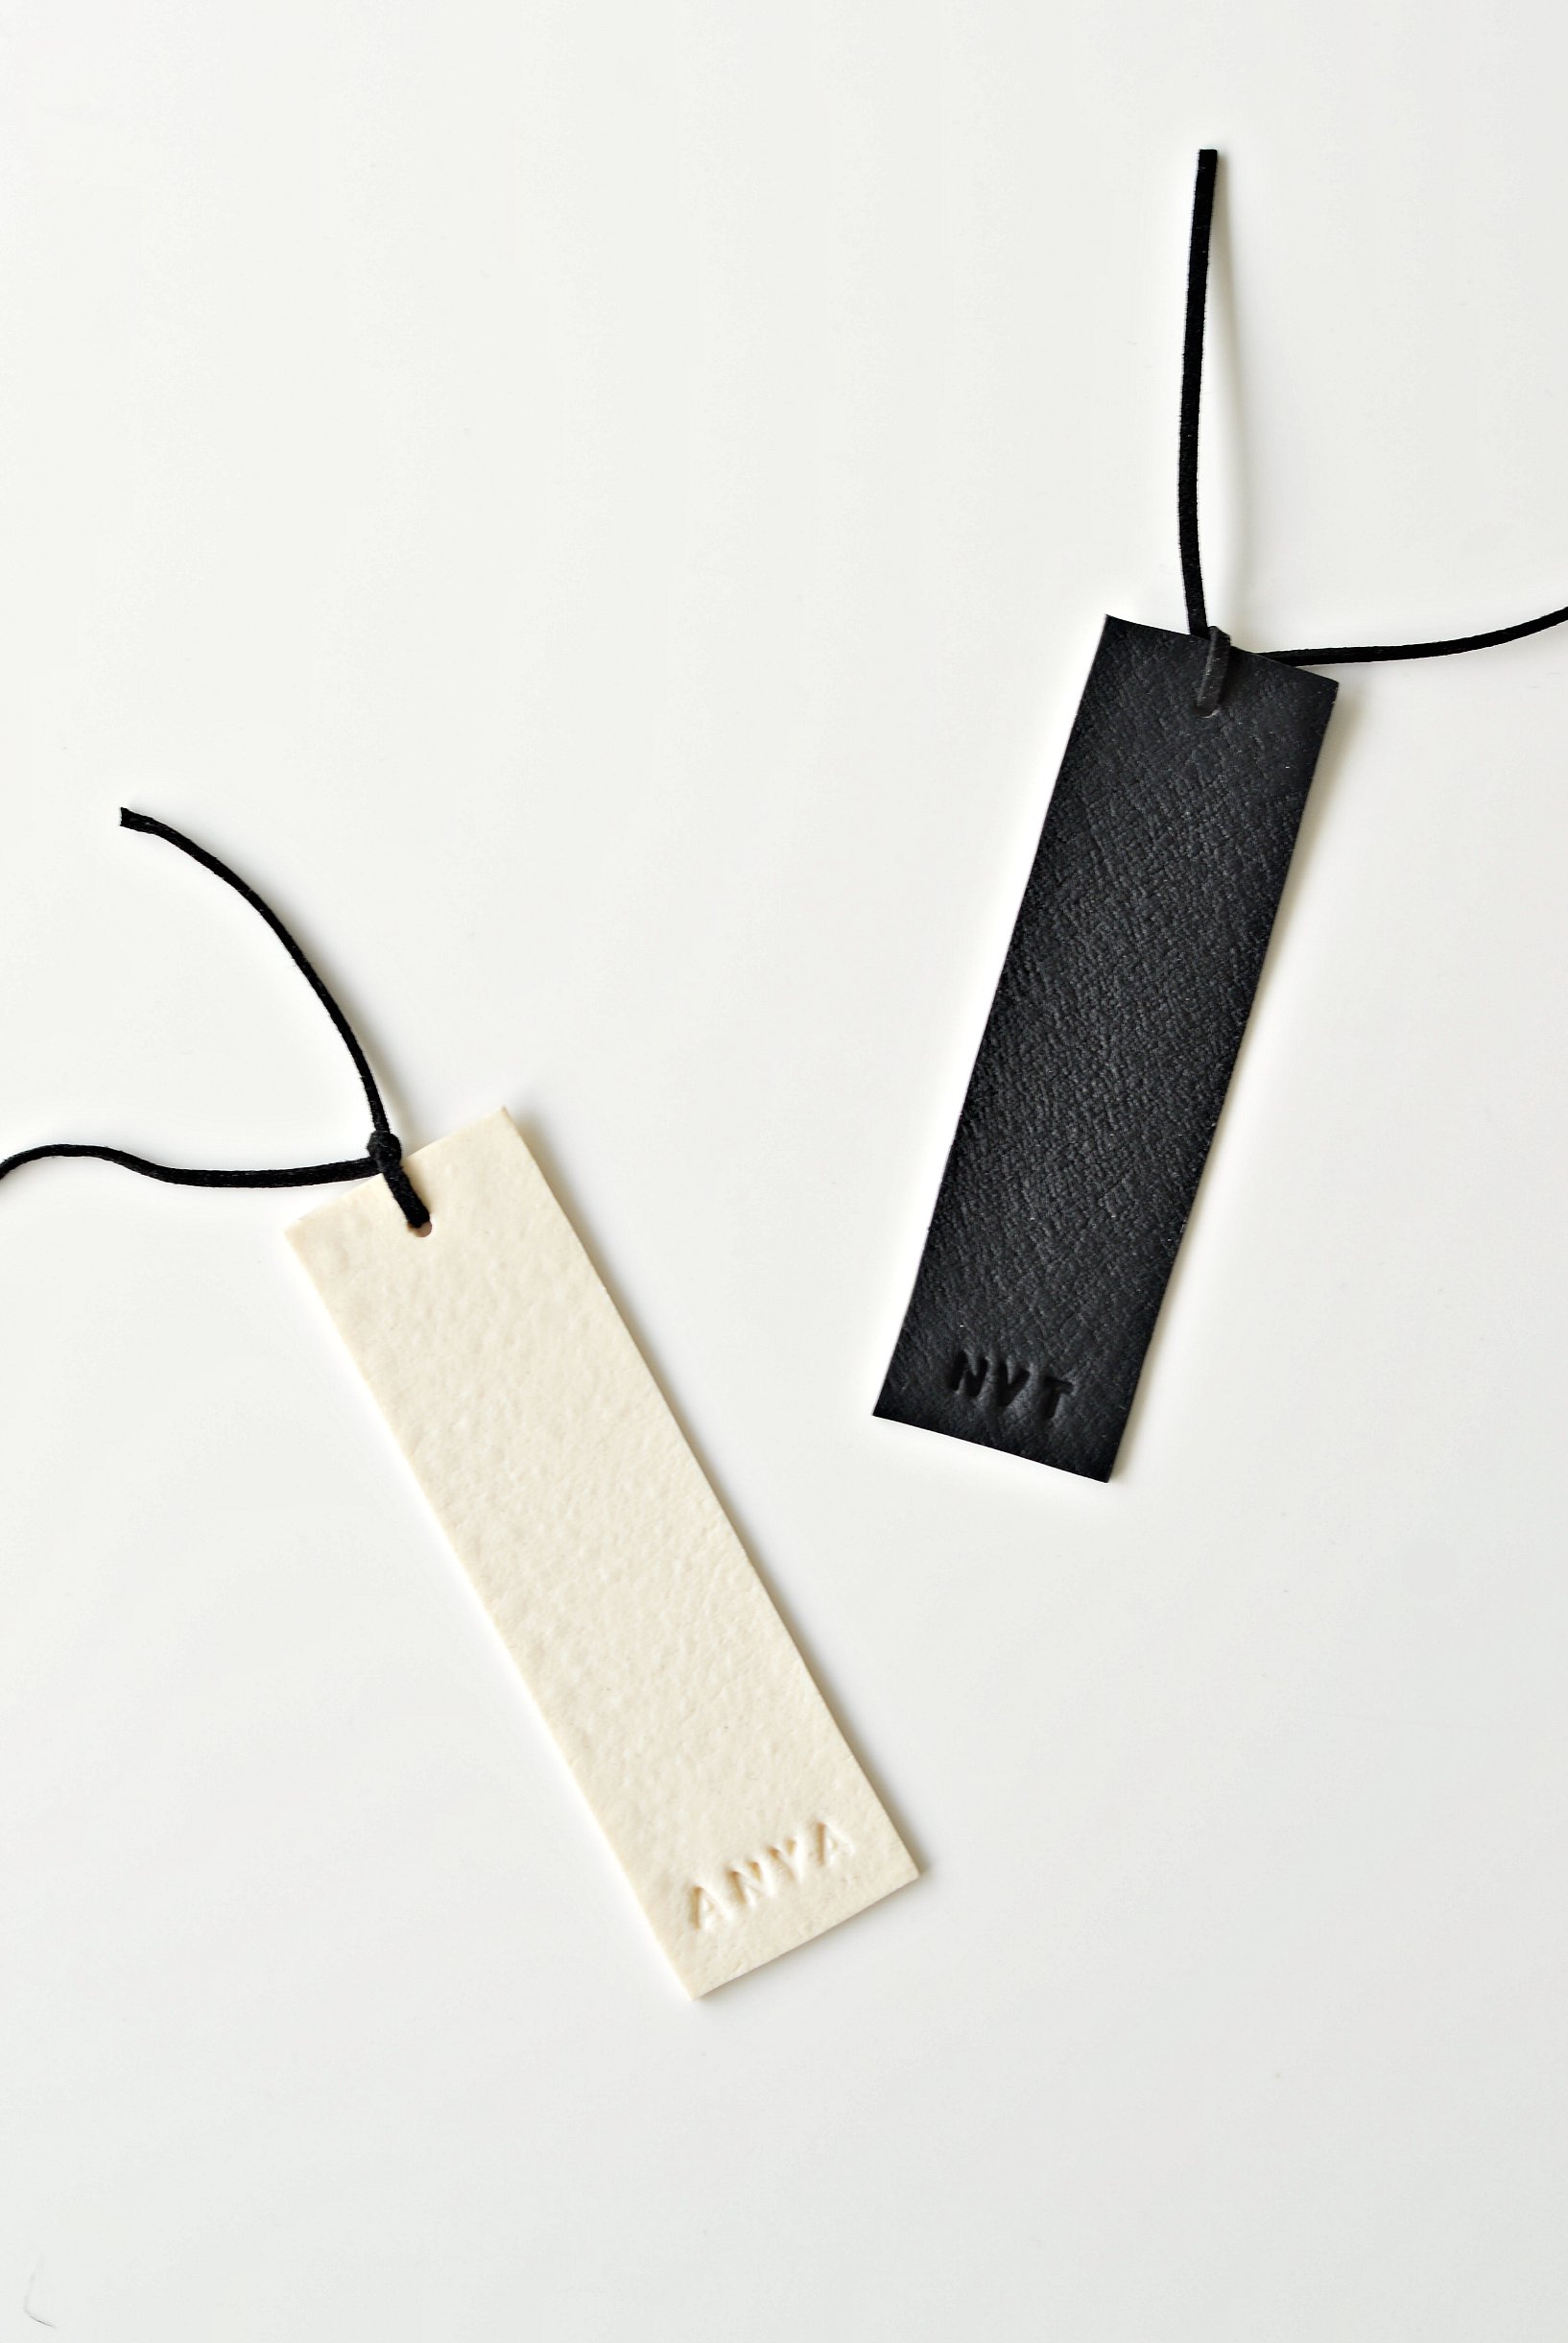
3. Very, very gently pull the clay apart with your hands. This gives it much more of a leathery look. This will also make the clay thinner. I ended up with about 2mm thickness which worked well as a bookmark.
4. Alternatively, you can skip step 3 and roll it out to a 2mm thickness. This gives a smoother effect and less of a leathery look in my opinion. (In all the pictures, the black bookmark is one where I hand stretched it while I didn’t on the white and you can clearly see the difference.)
5. Using a ruler and your knife, cut your clay to a bookmark size – approx 3.5-4cms (1¼ – 1½ inches) wide and 13-14cms (5-5½ inches) long. You can of course go for whatever size bookmark you want. This is just a guide.
6. Now get your message maker and emboss initials or a message on to your clay. Don’t press too hard as you don’t want it to go through the clay – I made that mistake a couple of times! Also the letters will stick to the clay as you press, so very gently lift the letters off the clay.
7. Bake the clay according to instructions.
8. Once cooled, use your leather hole punch to make a hole at the top and thread through the suede cord.
Note: If you don’t have a leather hole punch, you can make a hole in the clay before you bake it using a slim knitting needle or something similar.
A few things to bear in mind when trying out leather effect clay:
- The end product is soft and pliable, unlike regular clay. So you easily cut the clay after baking, with scissors or a craft knife.
- For the best leather-like effect, after rolling out, pull it apart very gently, using your hands.
- It might take you a couple of goes to get comfortable with this clay.
- For some strange reason, I tried the grey clay (see video) as well as the black and white. And I found the grey clay to be the most difficult to work with and the black the easiest. I’m really not sure why the colour made such a difference.
Here’s a short video with the making of these DIY personalized bookmarks:
As you can see, these faux leather bookmarks are super easy to make. And I definitely recommend the hand stretching step as that gives a much better leather finish. The bookmarks are a bit fiddly to cut before baking so you can cut them after and it’ll be much easier to get straight edges. The only reason I cut them before was because I personalised the bookmarks and had to get the letters in the right place. But if you’re not personalising, cut after baking.

I made these bookmarks for myself and my daughter Anya who loves to read. I’m planning to make a few more for friends who love reading. Who will you make these bookmarks for?

Faux leather material…I love it! Happy Reading!
I have to say that I was impressed with the feel and texture of the fake leather clay. I’m now wondering what else to make with it. If you experiment with it, do let me know x
These look beautiful! I am curious how many bookmarks you were able to make with what amount of clay?
You should get 2 bookmarks out of each 57g/2oz pack of clay – enjoy making! 🙂
This looks great!
How many bookmarks can I get out of each package of clay?
Hi! You should get 2 bookmarks from each 57g/2oz pack of clay. Enjoy making! 🙂