Are you a fan of gallery walls? Done right, they can add a lot of interest to a room. I love them as long as they’re minimal and simple. If overdone, they can end up making your room look cluttered and busy. So if you too love a minimalist gallery wall, then I’m sharing some tips on how to get the look.
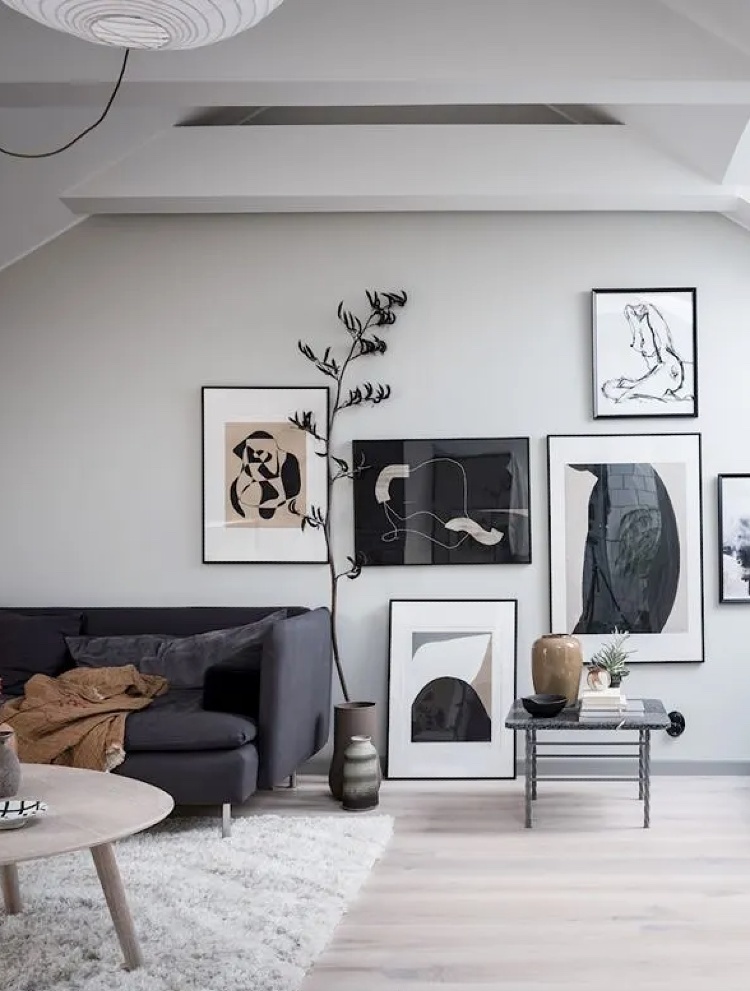
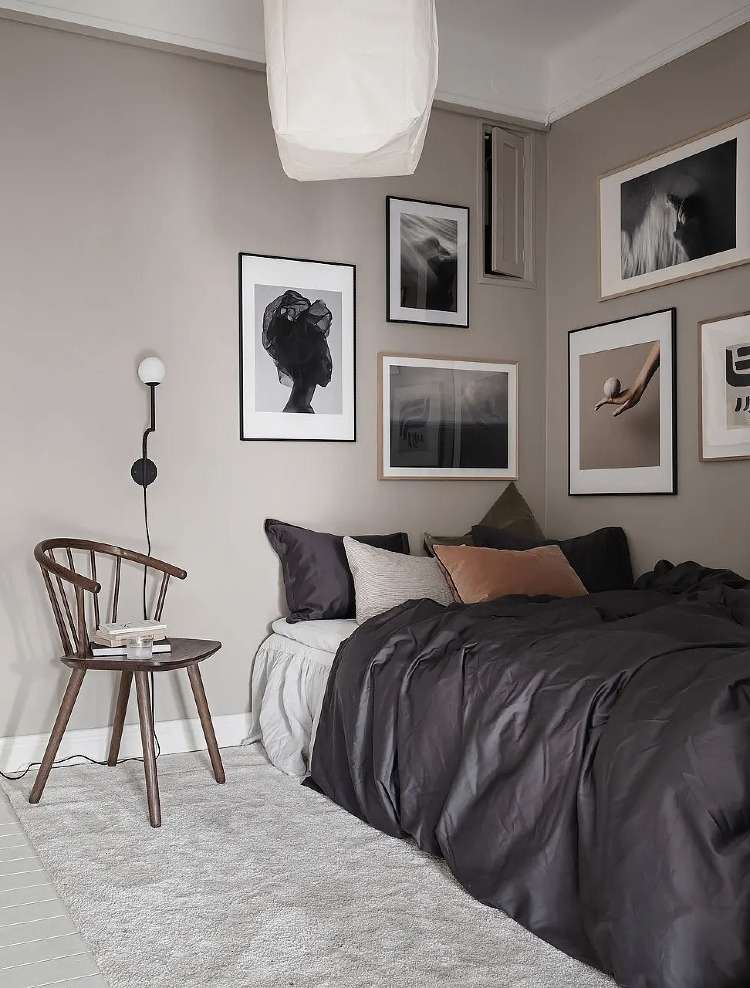
The Scandis are masters of creating gallery walls that are minimalist yet add interest and depth to a room. They tend to go for neutral tones, simple artworks and not too many pieces in relation to the size of the wall. As a result you get an interesting wall that really adds to your room.
Gallery walls are making a comeback this year so they’re on trend too. But that aside, bare walls are boring! So if you’ve been thinking about creating one and love a more minimalist look, I hope these ideas inspire you.
How to create a minimalist gallery wall
1. consider the surroundings
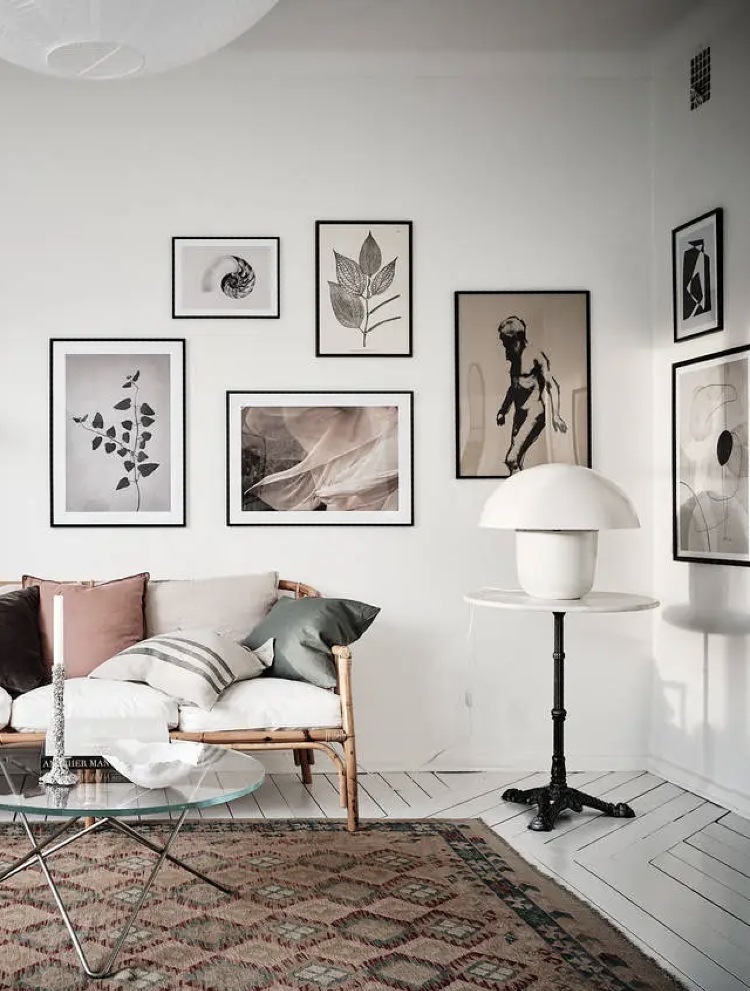
Before you choose your art, consider the decor style and colours around the wall. For a minimalist look keep tones and styles similar. For example, if you have blush cushions, pick at least one artwork with similar blush tones. This will help keep things looking seamless and cohesive.
2. pick simple & neutral artworks
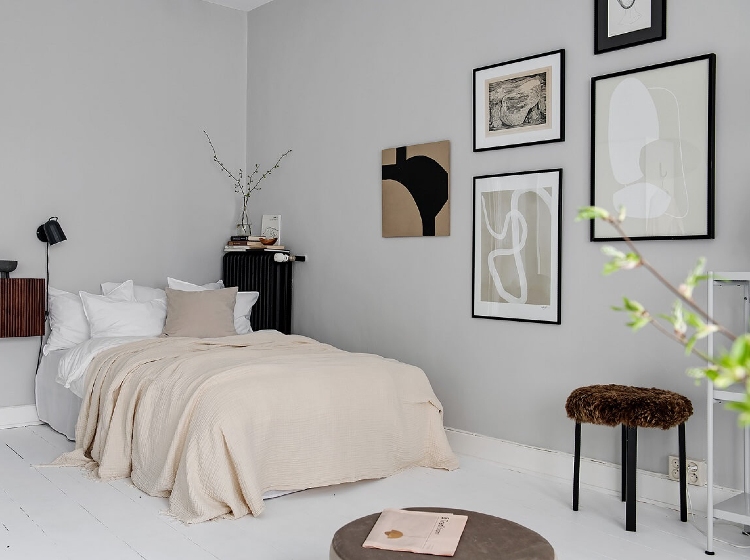
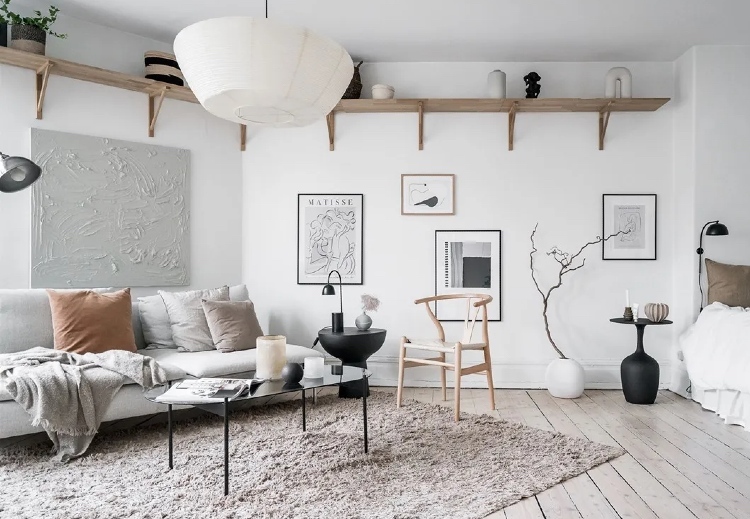
The type of art you put on your gallery wall matters if you’re going for a minimalist look. Very busy prints and/or bright colours won’t give you a minimal vibe. When you’re buying your art, choose neutral, muted tones, perhaps with the odd pop of colour if you like a bit of colour. Simple designs and drawings work best too. There is a load of affordable art out there to choose from so you won’t be short of options, no matter your budget. Also you don’t need a ton of art for a gallery wall. Even three pieces are enough to create a simple gallery wall.
3. consider the background
To create a minimalist gallery wall, the background makes difference. Say if you have a wallpapered wall or an exposed brick wall or even a wall painted in a bright, bold colour, then creating a gallery wall on this wall will look busy. The best background is a plain white wall or any wall painted in a neutral colour.
4. choose your wall
Sometimes the most obvious wall isn’t the best place for a gallery wall. In a living room, most of us would pick the biggest wall usually above a sofa. But, depending on your room, sometimes the wall opposite the sofa may be best. Or maybe it would work better to create a gallery wall above a low living room cabinet or on a wall to the left or right of the sofa. The key is to really look around the room and choose the wall rather than go for the most obvious option which may not be the best one.
5. plan the layout
Once you’ve got your artworks and picked the wall, it’s time to plan the layout. Don’t skip this stage as otherwise you’ll end up making unnecessary holes in your walls! And more importantly, chances are your wall just won’t look right. The easiest way to plan is to cut out paper in the sizes of your art and stick it on the wall — here’s a tutorial if you want to see one. Play with the layout until you’re happy. You might find that you’ve picked too many pieces or not enough. Now’s the time to adjust all this. Remember to leave some breathing space between the artworks — too close together and even a few pieces can start to look a bit crowded.
6. get creative
Not all gallery walls need to be only on the wall. You can mix it up with a few pieces on the wall and complete the look with a couple of pieces on the floor. Or you can lean artwork on shelves or benches. You can also consider picture ledges or a combination of a few of these things. Or you could have a gallery wall that starts on one wall and continues on to another wall. Gallery walls also work really well when they go above and around a piece of furniture. There are plenty of ways to create a gallery wall so consider what works best for your space.
Having said all that, there are no hard and fast rules for creating a gallery wall. Art is very personal and so is how you display it. But if you love a pared back, minimalist look, these ideas and images will help you create it and hopefully give you lots of inspiration to get started.
image credits: alvhem | lundin | stadshem | entrance makleri



[…] Which one is your favourite? You could make a few of these and create your own unique gallery wall. […]