Napkin rings always remind me of that time when I got caught shoplifting at Bergdorf Goodman.
I had just picked up the most beautiful set of napkin rings I had ever laid eyes on. As I was leaving the store, I was stopped by two burly security guards and hauled back in to the store. To say I was terrified doesn’t even begin to describe how I felt.
As it turns out, I had paid for them (obviously!) but they had forgotten to take off the security tag. Their bad, not mine.
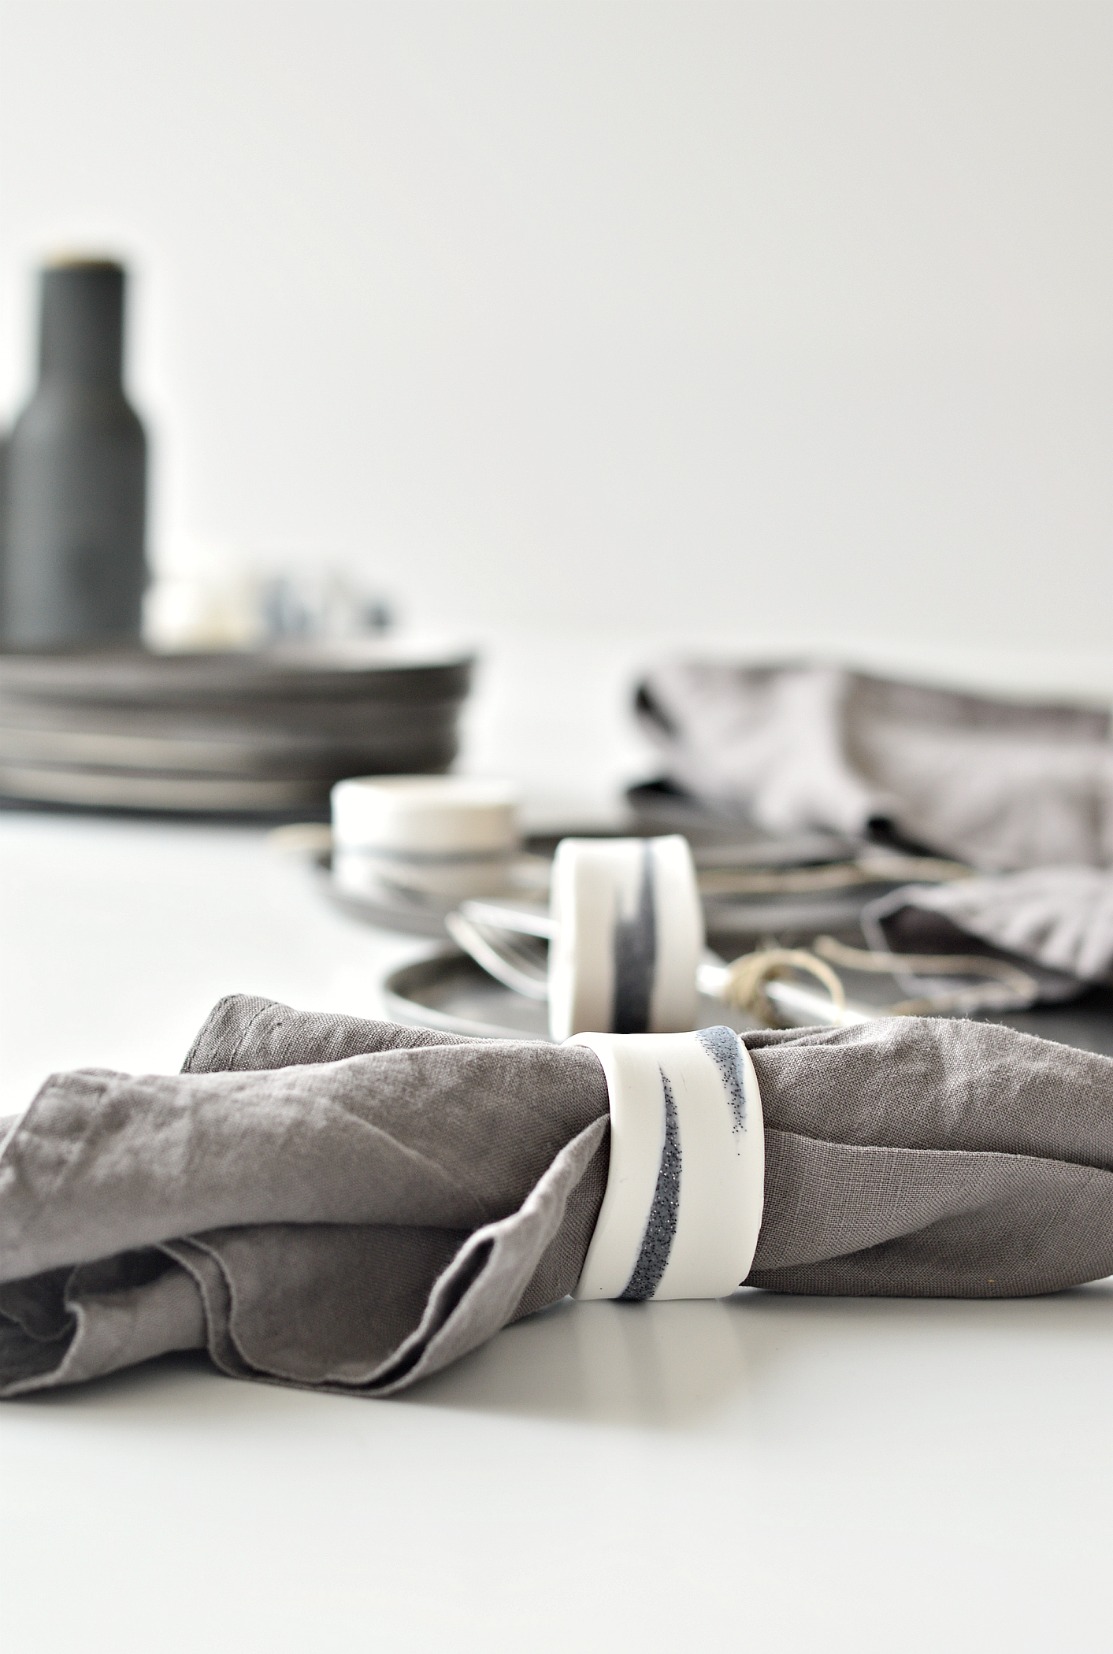
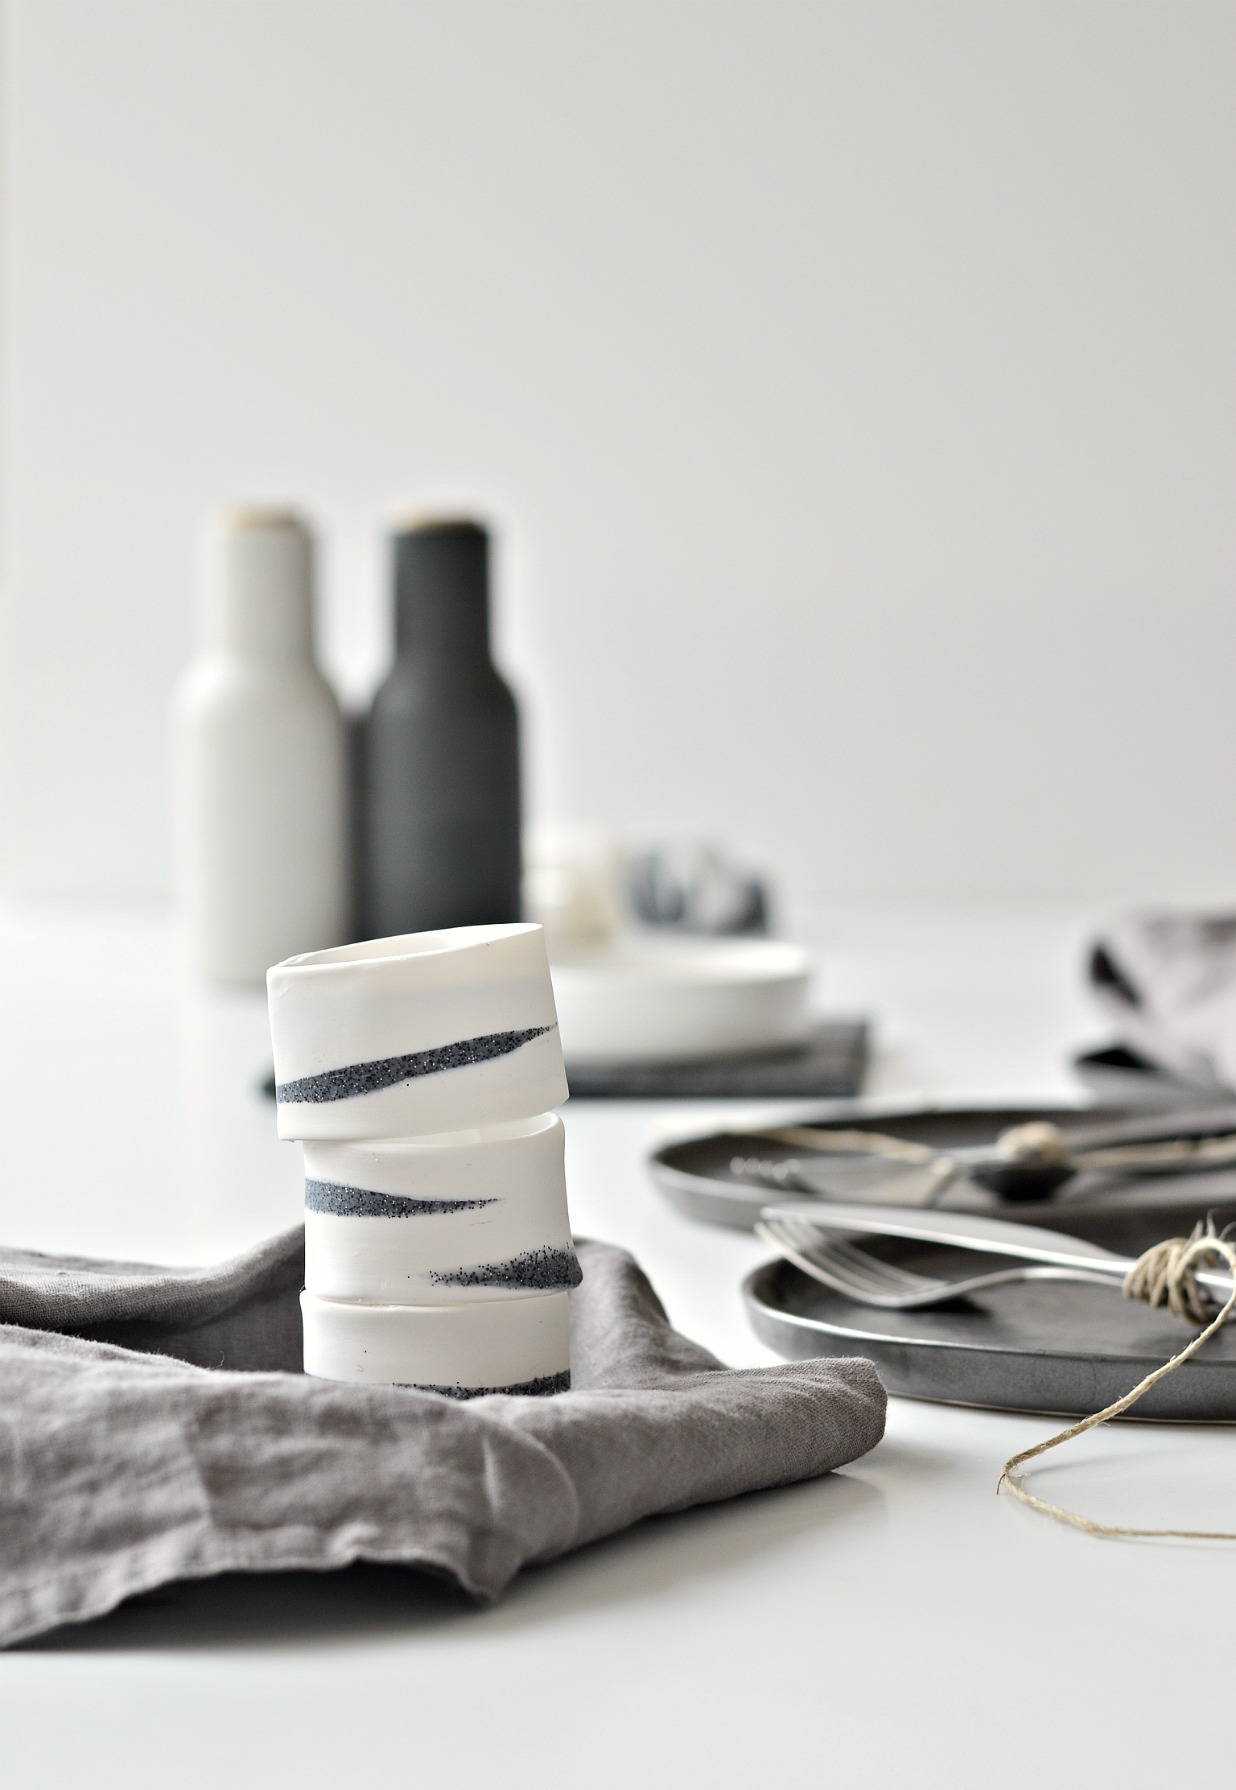
I was telling this story recently which sparked the idea of making my own DIY napkin rings. Mine may not be quite as fancy as Bergdrofs, but they are a lot cheaper! I especially love them for a minimal, monochrome table setting. It’s adding little details like these napkin rings, that can make any dinner table that bit more special.
These DIY napkin rings are super easy to make using polymer clay. Making one takes less than 10 minutes plus baking time. I had initially made them pure white which looks really good too, especially with a dark napkin, as the clay is a beautiful, crisp white and stays that way even after baking. But I decided to add a bit of (faux) granite to them as the grey and white worked well together.
DIY NAPKIN RINGS
Materials:
white polymer clay (US readers here)
granite effect polymer clay (US readers here)
knife
ruler
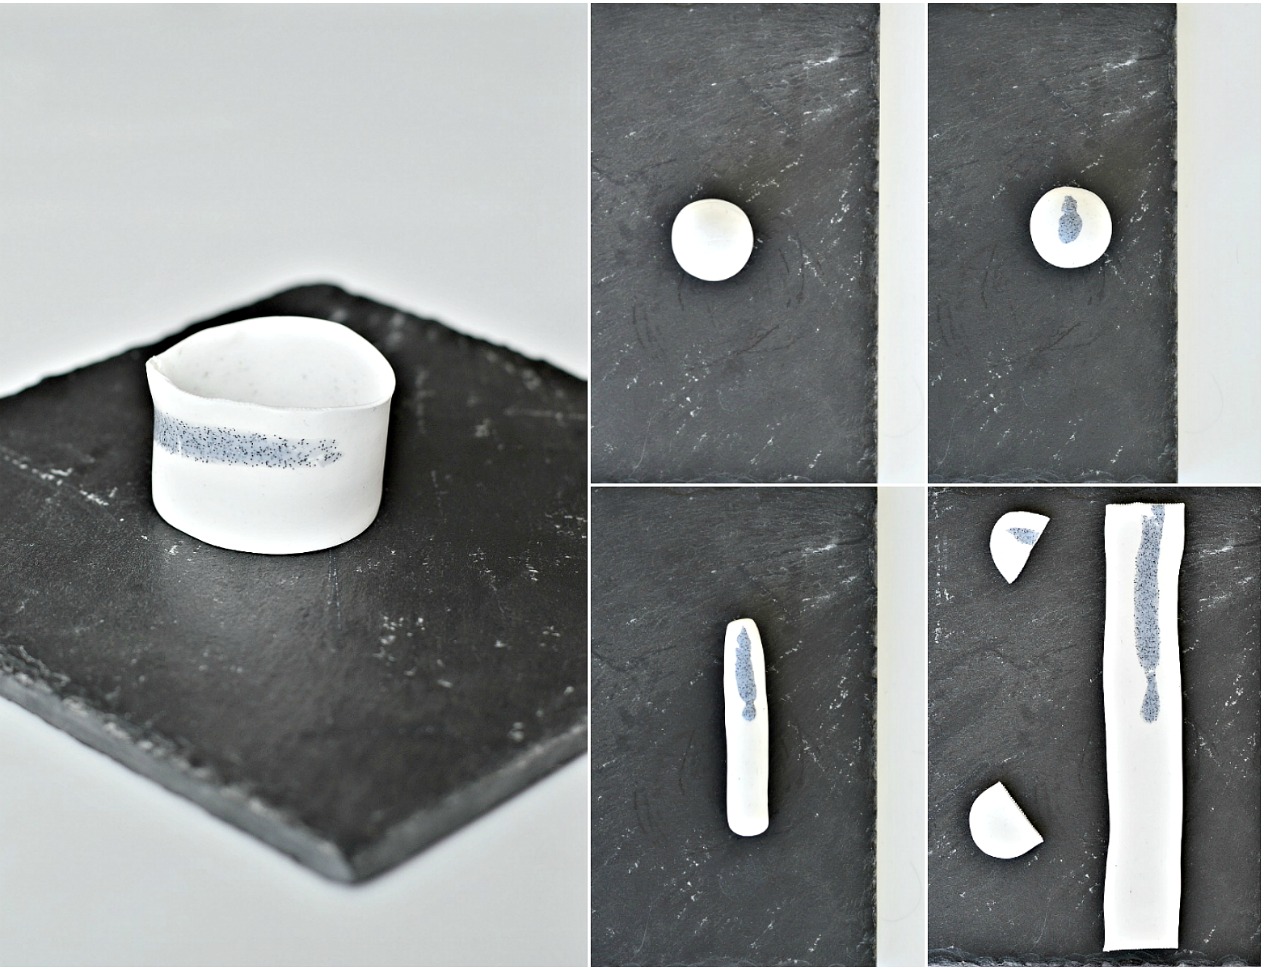
1.Take a good chunk of white clay and roll this in to a ball.
2. Stick on a one or two tiny bits of granite clay and roll in to a ball again. I used a bit more granite on some and a bit less on others to vary the look. Once you’ve added the granite clay, don’t work the granite in to the white clay as it will colour the white and give it all a grey-ish tinge.
3. Roll the ball between your palms to create a longish cylinder like shape.
4. Use a rolling pin to roll this out lengthways and then a bit horizontally until you have a piece that measures approximately 3cms wide and 22cms+ long. Also the clay should be no thinner than 2mm- too thin and it can break.
5. Cut the ends off so that you not only remove the rounded edges but you are also left with a long rectangle measuring approx 18cms.
6. Now curl the piece to form a circle and stick one end of the clay over the other – gently pressing down and allowing around 2-2.5cms overlap.
7. Bake according to the instructions. Once cooled, sand down the join to make it neater if you need to.
The measurements are a guide but you don’t have to be so precise. And you can always make the napkin rings narrower if you prefer. The only thing to remember is the diameter should be around 4-5 cms (1.5-2 inches) so the rings aren’t too big for the napkins.
Also, the first few I tried had way too much granite so I played around a bit till I got just an (imperfect) stripe or two of granite which is the look I was after. So it may take you one or two tries to get the look you want.


I love creating with clay and these DIY napkin rings were really fun to make. They’re simple in design but still add a lovely detail to a neutral table setting.
I’ve opted for a granite touch with the white but you can also try other colours like brown or terracotta which will work well with the white.


I love these…I will be attempting these once we decide and get a dinning room table. I also love the plates…we have yet to decide on plates and a bed and paint color…etc.
Happy feasting!
Thank you. The details are always the most fun bit of decorating a home. Enjoy making these – they were fun to make so I’ll be making some more too. xx