
Christmas wouldn’t be the same without a few DIY Christmas decorations. And of course a DIY advent calendar. And actually any other DIY’s we can think of because the best part of Christmas is all the crafting opportunities!
Recently I made these simple DIY paper Christmas ornaments in geometric shapes. They make a fun, modern decoration for your tree, especially if you want a change from traditional baubles. But you can also use them as gift toppers, name place cards and more.
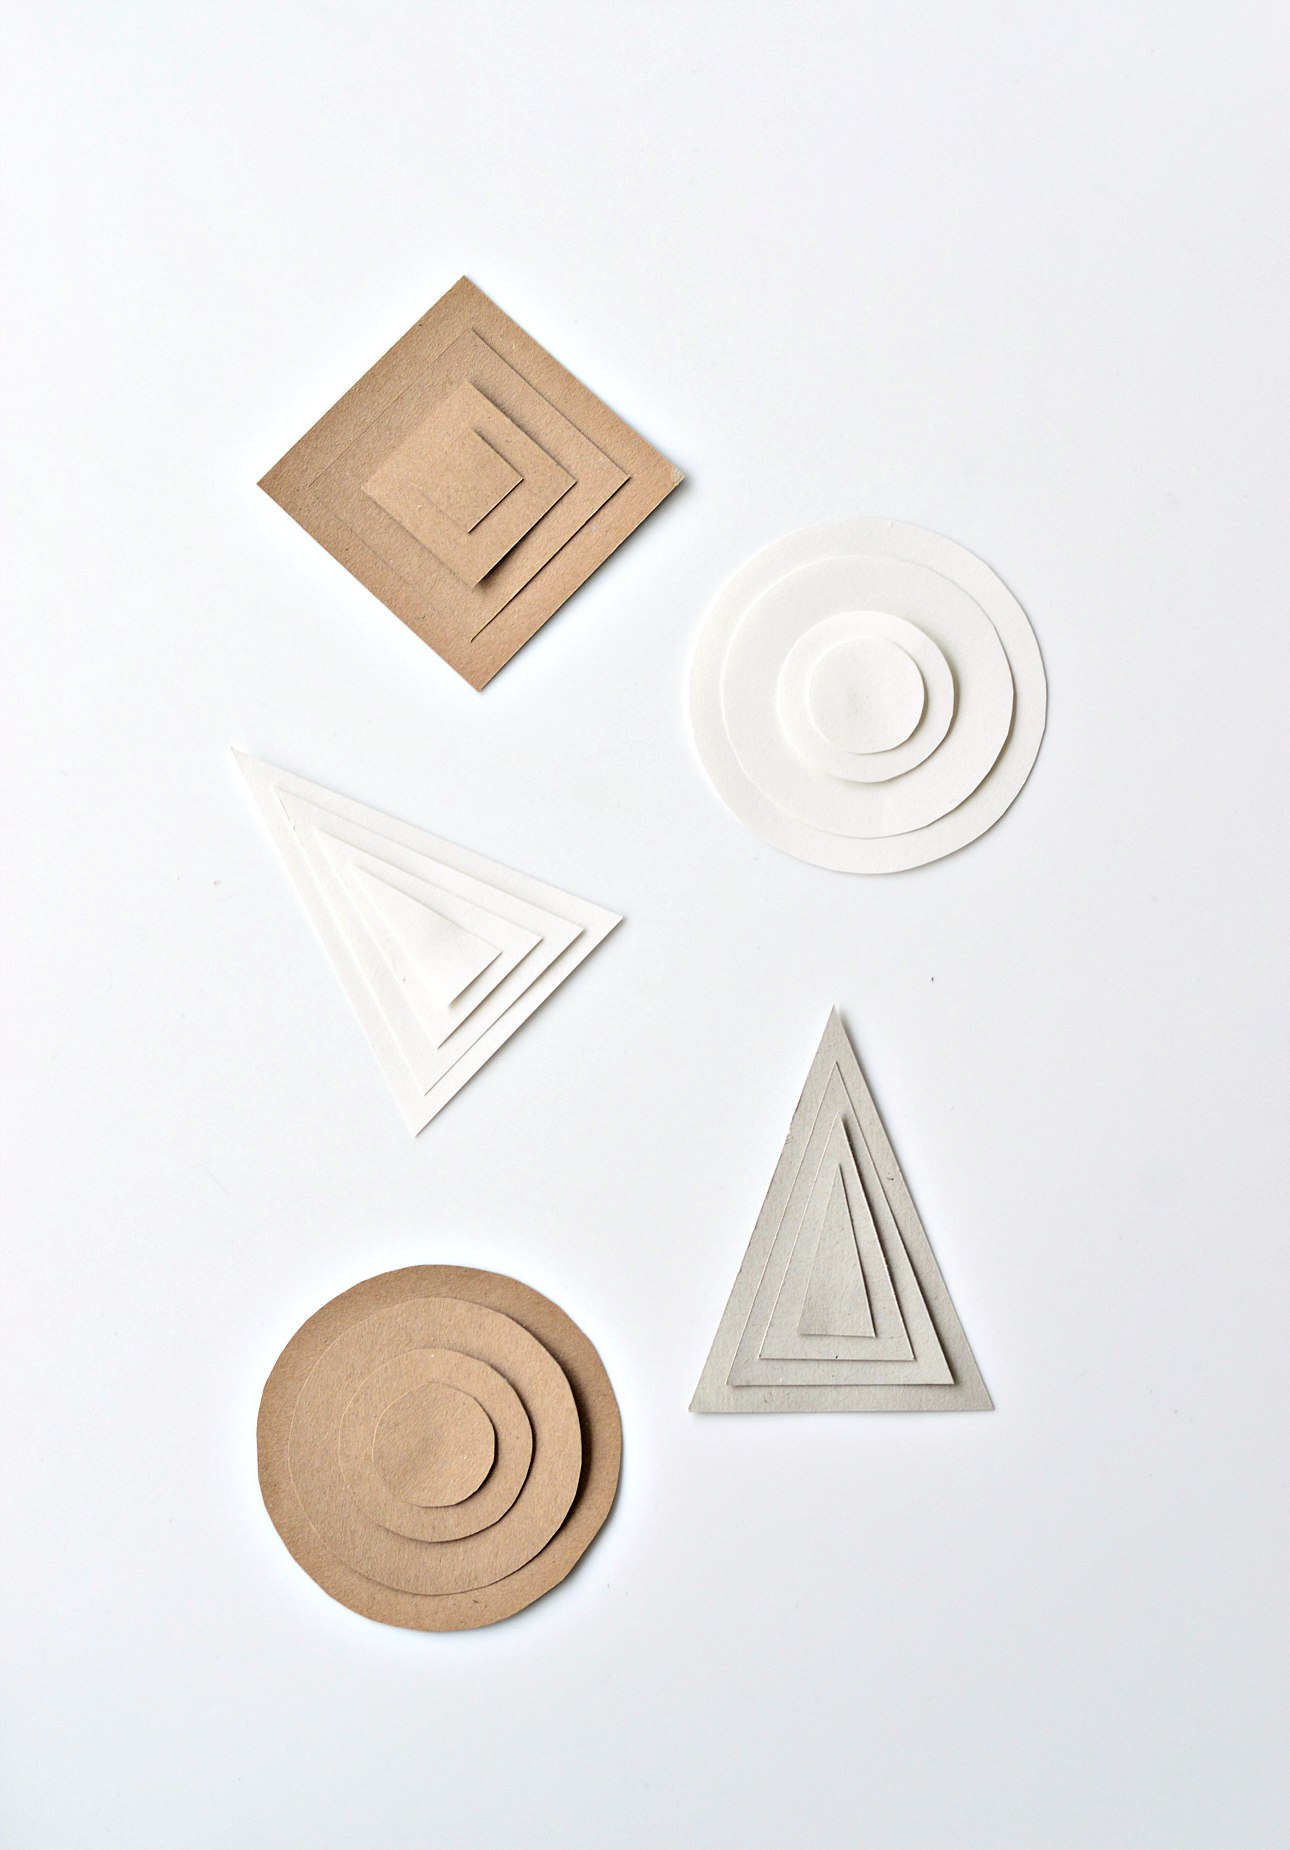
I made three shapes – triangles which represent Christmas trees, circles which represent baubles and squares that represent gifts. You can of course go for any shape you like and get as creative as you like with the type of card you use – think glitter card for a more sparkly look!
DIY paper Christmas ornaments in geometric shapes
Materials:
card paper (in your choice of colors)
Scissors / craft knife
Hot glue gun
twine/string
These DIY paper Christmas ornaments are simple to make – simply draw and cut out each shape in 4-5 sizes from biggest to smallest. Then glue them one on top of the other.
To make sure you get the maximum 3D effect, use a biggish dot of glue only in the centre of each shape. And when you glue this to the bigger shape below, don’t press down to flatten the glue – if that makes sense. Just place on top of the shape below, position and press very, very gently only to ensure contact and let it dry before gluing the next one. That way you’ll have some distance between each of the pieces of card, giving the maximum effect.


I made a few of each shape but kept them all different sizes intentionally. My favourite are the white circles that really pop on against a green tree but they’re a bit tricky photograph because they’re white.
Want another Christmas decor DIY? Check out these DIY wooden stars.

Leave a Reply